
Free Resource
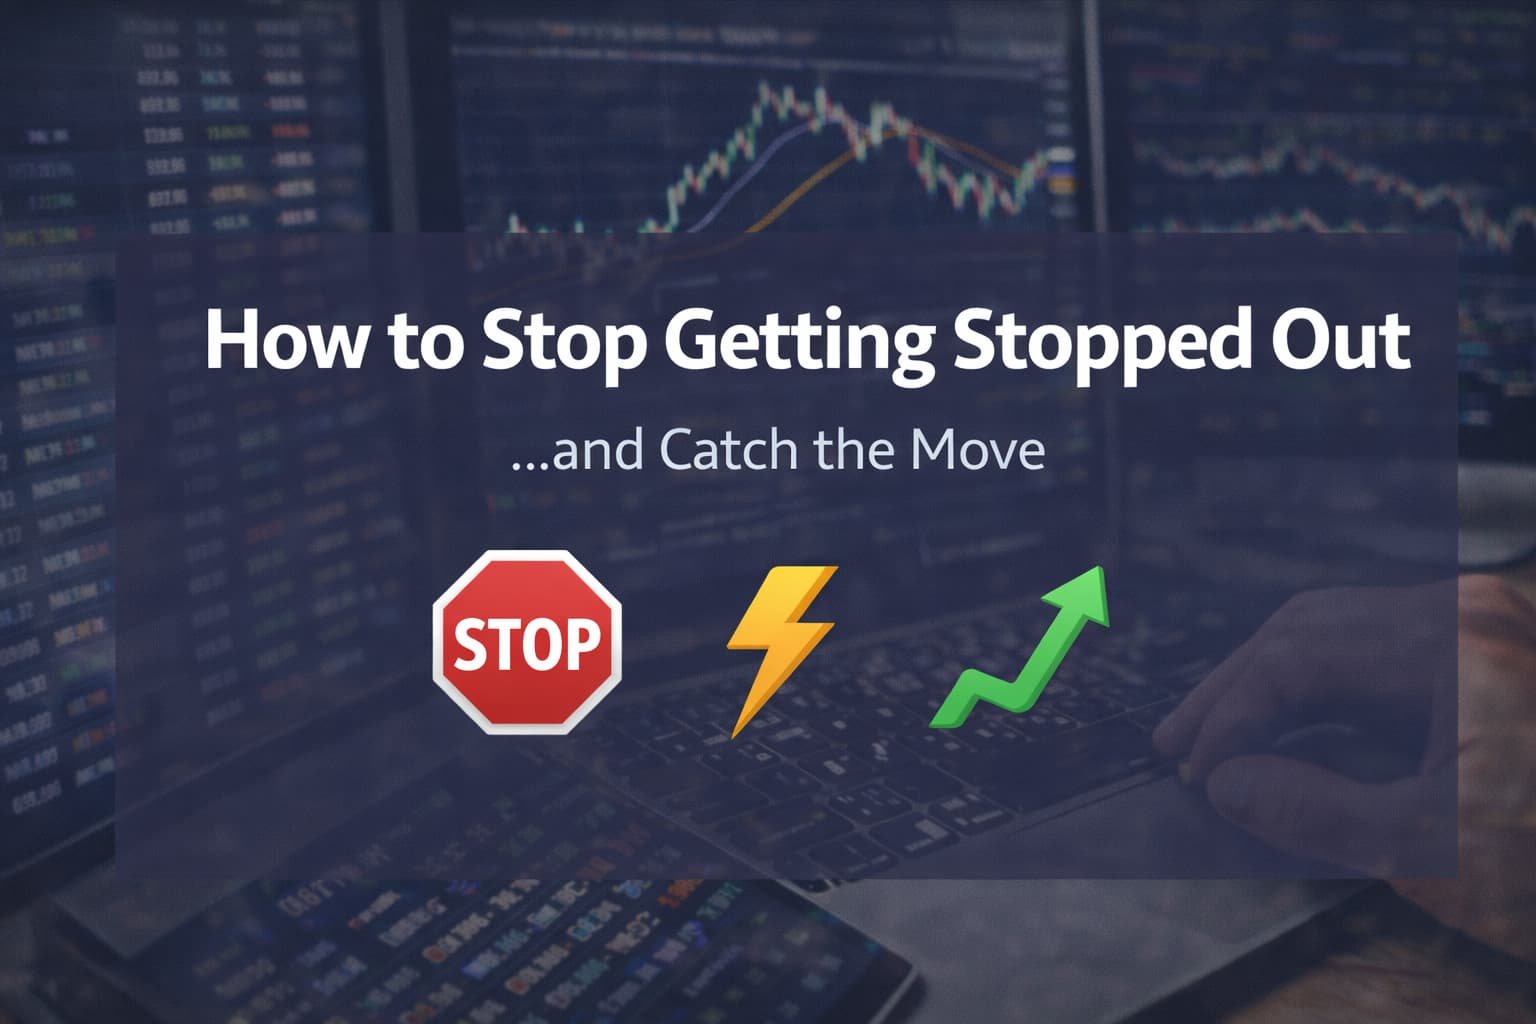
How to Stop Getting Stopped Out… Then Watching Price Run Without You
If you’ve traded for more than a week, you’ve probably lived this pain:
You mark a “perfect zone.”
You wait.
Price touches it, taps your stop like it’s personal, and then moves hard in the exact direction you predicted.
And you’re sitting there staring at the screen like… “So I was right, but still lost?”
This post is for that exact problem.
Not the “move your stop wider bro” advice.
Not the “use a better strategy” nonsense.
I’m going to explain what’s actually happening, in plain language: your stop is often sitting where the market needs liquidity, and price moves there on purpose because that’s where orders are.
The market doesn’t move randomly. It moves to where orders exist.
If your stop is sitting in the most obvious place… congratulations, you’re providing liquidity.
Why price hits your stop first (the hamburger story)
Think of a trader (or a big player) like someone trying to sell hamburgers.
If he opens a burger shop in the middle of a desert, it doesn’t matter how good the burger is. No customers, no trades, no business.
But if he opens next to a stadium, suddenly there are:
- buyers
- sellers
- volume
- transactions
Markets work the same way.
Price goes to places where:
- lots of stops exist
- lots of breakout orders exist
- lots of “obvious” decisions are clustered
That’s not “fake.” That’s just the market doing what it must do to execute big orders.
The core idea: price moves from “used” zones to “fresh” zones
A zone that has already been traded heavily is “used.”
A zone that still has untouched orders is “fresh.”
Price often travels from:
- areas it already consumed
to - areas that still have liquidity
In smart money terms people call it “buyside liquidity” and “sellside liquidity.” You don’t need the vocabulary. You just need the behavior:
| What you see | What it usually means |
|---|---|
| Price breaks a obvious high, then reverses | It collected breakout buys + stops |
| Price breaks a obvious low, then reverses | It collected panic sells + stops |
| Price spikes with a long wick | A liquidity sweep happened |
| Price returns strongly after the sweep | The “real move” started after orders were filled |
The trap everyone falls into
You see a clean level. You place your stop in the most logical spot.
Example:
- You short at resistance
- You put stop just above the resistance
So do thousands of other traders.
Now imagine a big player wants to sell big size. They need buyers to sell into.
Where do buyers appear?
- above resistance (breakout traders)
- above resistance (stops turning into market buys)
So price pushes slightly above, triggers those orders, fills the big sell… then drops.
That’s why you get stopped out and price goes your way.
You weren’t wrong. You were just standing exactly where the market goes to collect orders.
The 5 “Stop Hunt” Zones You Must Know
These are the zones where stops pile up like crazy. If your stop is sitting here, you’re easy food.
1) Swing highs and swing lows
A swing high is basically a “peak.”
A swing low is a “valley.”
Simple visual rule (easy mode):
- swing high = middle candle’s wick is higher than neighbors
- swing low = middle candle’s wick is lower than neighbors
Stronger version (more reliable):
- swing high = higher than 2 candles before and 2 after
- swing low = lower than 2 candles before and 2 after
| Level type | Why it matters |
|---|---|
| Swing high | breakout buys + short stops above |
| Swing low | breakdown sells + long stops below |
This is why price often wicks above a swing high or below a swing low and then reverses.
2) Equal highs and equal lows
If you see two similar highs or two similar lows, that’s a magnet.
Because traders love symmetry:
- “double top” shorts put stops above
- breakout buyers place orders above
- “strong support” buyers put stops below equal lows
So price often targets those equal highs/lows, sweeps them, and then moves.
| Pattern | What traders do | What price often does |
|---|---|---|
| Equal highs | stop above + breakout buys | wick above then drop |
| Equal lows | stop below + breakdown sells | wick below then pump |
3) Round numbers and obvious “turning points”
People place orders around “nice numbers” because humans are predictable.
Examples:
- Gold at 3000 / 3050 / 3100
- Big indices at 5000
- BTC at 50k, 60k, 70k
These become hot zones because too many people stare at them.
4) Daily highs and lows (especially session highs/lows)
This is a big one for forex and crypto.
You’ll often see:
- Asian session range high/low
- London pushes above/below it
- New York reverses from it
Because those highs/lows become obvious reference points for stops and breakouts.
| Session | Common behavior |
|---|---|
| Asia | range forms (liquidity pools) |
| London | often sweeps one side |
| New York | often runs the other side |
No magic. Just order flow and timing.
5) “Support/Resistance that everyone sees”
The more “clean” a level looks, the more likely it’s crowded.
Crowded means:
- lots of stops behind it
- lots of breakout orders beyond it
Which means price has a reason to go there first.
So what should you do differently?
This is the part people mess up. They hear “liquidity sweep” and then start chasing wicks like maniacs.
No. You need a simple rule:
Don’t enter where liquidity is sitting. Enter where liquidity gets taken.
If the obvious level is where everyone places stops, you don’t want to enter exactly there.
You want to:
- let price sweep the obvious level
- then enter from a better area nearby (a “cleaner” area)
- put your stop somewhere less obvious
In your transcript you referenced this idea as entering at a more optimal point (like a clean imbalance/FVG area) after the sweep. The label doesn’t matter. The logic does.
Simple version (beginner-friendly)
| Step | What you do |
|---|---|
| 1 | Mark the obvious level (equal highs/lows, swing points, daily high/low) |
| 2 | Wait for a sweep (wick through it) |
| 3 | Wait for price to show rejection (strong candle back inside) |
| 4 | Enter with the move, not before it |
| 5 | Stop goes beyond the “real invalidation,” not the obvious line |
If you put your stop exactly where everyone puts theirs, price doesn’t need to be “against you.” It just needs liquidity.
A quick checklist you can use on every chart
| Question | If “No” then… |
|---|---|
| Am I entering on an obvious level with obvious stops? | wait for the sweep |
| Did price already grab liquidity? | don’t guess, let it show |
| Is this a swing high/low or equal high/low zone? | expect a wick |
| Is this near daily high/low or session high/low? | expect traps |
| Do I have confirmation after the sweep? | no entry |
The biggest mindset shift
Stop calling everything “fakeout” like it’s a mysterious monster.
Most “fakeouts” are just:
- crowded levels
- stops being collected
- breakout traders being used as liquidity
When you understand that, you stop taking it personally and you stop entering too early.
Final note
You’re not trying to predict every move.
You’re trying to stop donating money at the most predictable stop locations on the chart.
Learn the trap zones (swings, equal highs/lows, daily highs/lows), and your trading immediately becomes calmer because you finally understand why that annoying pattern keeps happening.